Tutor Dev Installation With Maple Release
Are you looking to set up Tutor Dev with the Maple release? This comprehensive guide will walk you through the installation process step by step, ensuring you can get up and running quickly. Tutor is a powerful platform for online education, and the Maple release introduces exciting new features and improvements. Let's dive in!
Tutor Dev Maple Release
Tutor Dev is a tool that allows you to develop and test your Open edX platform locally. It uses Docker to create a self-contained environment that includes all of the necessary components, such as the Open edX platform, the database, and the web servers.
The Maple release is a specific version of the Open edX platform that includes a number of new features and bug fixes. If you want to develop your Open edX platform using these latest features, then you should use the Maple release.
Prerequisite
You need to have the following prerequisites installed before you can install Tutor Dev Maple Release:
- Docker version: v20.10.15+ CE
- Docker Compose version: v1.22.0+
(Note: We utilize Docker version 20.10.15+ CE, you can choose as per your requirement.)
Installation Steps for Docker
Remove older versions of Docker that are lower than v20.10.5 CE
$ sudo apt-get remove -y docker docker-ce docker-ce-cli containerd.ioCheck available versions of Docker
$ apt-cache madison docker-ce | awk '{ print $3 }'Replace your older docker version using VERSION_STRING (the Given command shows the output of the previous string)
$ VERSION_STRING=5:24.0.0-1~ubuntu.22.04~jammyExecute the command to download or install the docker
$ sudo apt-get install docker-ce=$VERSION_STRING docker-ce-cli=$VERSION_STRING containerd.io docker-buildx-plugin docker-compose-pluginCheck your installed docker version
$ docker --version
Installation Steps for Docker Compose
Uninstall the older version of docker-compose from your system
$ sudo apt-get remove docker-composeCheck the available version of Docker Compose
$ sudo curl -L "https://github.com/docker/compose/releases/download/1.22.0/docker-compose-$(uname -s)-$(uname -m)" -o /usr/local/bin/docker-composeSet execution permission on the file /usr/local/bin/docker-compose which will enable users to run it as an executable program
$ sudo chmod +x /usr/local/bin/docker-composeCheck the docker-compose installed version
$ docker-compose –version
Step-by-Step Installation of Tutor Dev Maple Release
Follow the given steps to install Tutor Dev Maple Release in your system.
1. Make edx directory
Create an edX Directory using mkdir tutor_maple Command on the Terminal.
$ mkdir tutor_maple2. Go to that Directory
To access the directory use the Terminal command cd tutor_maple
$ cd tutor_maple/3. Download and Install Tutor
Open a terminal and run the following command to install Tutor using pip (Python package manager)
$ pip install “tutor[full]==13.3.1”The command will look for the v13.3.1 of the tutor package which has the Open edX Maple version in it, along with its optional dependencies labeled as "full." It will then download the package and any required dependencies from the Python Package Index (PyPI) and install them on your system.
4. Check Tutor Installed Version
To check or confirm what version you have installed, run this command
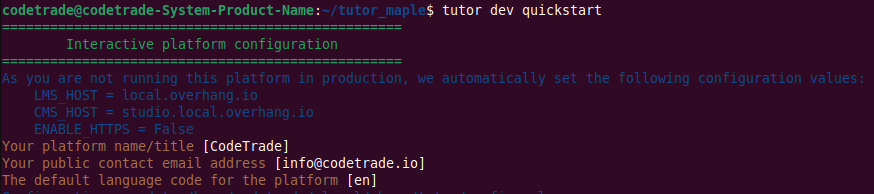
$ tutor --version5. Setup Dev Environment
$ tutor dev quickstartThe command is used to quickly set up a local development environment for Open edX using Tutor Dev.
If you encounter a MySQL initialization error during the installation of Tutor Dev Maple Release, it might be related to issues with the MySQL setup or configuration. Here are some troubleshooting steps you can follow to resolve the problem:
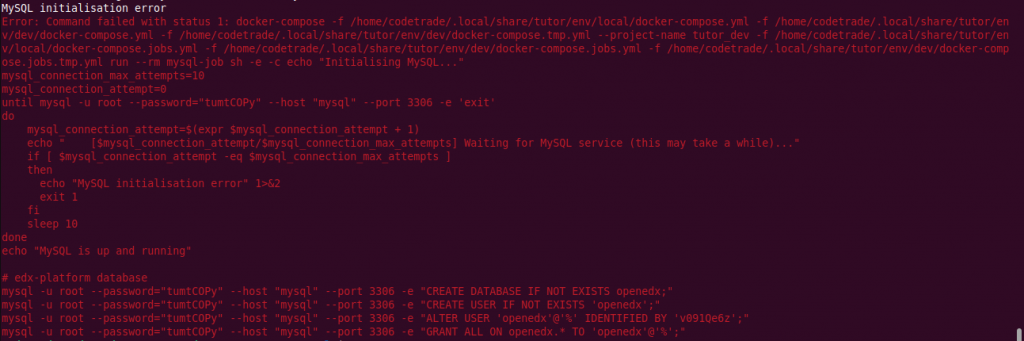
Stop The Containers
$ tutor dev stopRemove the MySQL file from your tutor download path
$ sudo rm -rf $(tutor config printroot)/data/mysqlAnd run the quickstart command again
$ tutor dev quickstart
The quickstart process will initiate, and after successfully installing the tutor, it will show the given data.
6. Enable Plugins
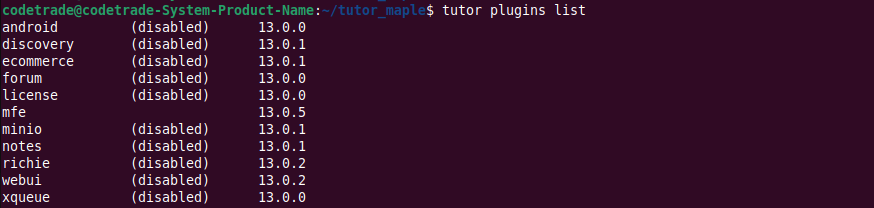
In this version, MFEs (Micro Frontends) are not enabled by default. You can verify and enable them by following these steps.
First, check your plugins list
$ tutor plugins listEnable these plugins
$ tutor plugins enable (plugin-name)

7. Save Modifications in the Config File
$ tutor config saveThe command "$ tutor config save" is used in the Tutor platform to save the current configuration settings.

8. Launch the Tutor Dev
$ tutor dev quickstartYou can now use Tutor to create and manage your own Open edX platform at http://local.overhang.io:8000
Conclusion
In this blog post, we've walked you through the step-by-step installation of Tutor Dev Maple Release which enables you to set up your own Open edX instance for development and experimentation. Tutor simplifies the process and provides a robust platform for managing your educational projects. We hope this guide has been helpful to you, and we encourage you to explore the vast possibilities of Open edX using Tutor.
Looking to hire dedicated resources for your Open edX project? CodeTrade, a prominent Open edX agency in India, and open edx certified partner offers highly skilled Open edX Developers who can cater to your project needs. Get free consultation for your Open edX project from CodeTrade, consult now...!