
Open edX Development
 Chand Prakash
22 June 2026
Chand Prakash
22 June 2026
Open edX + AI Tutors: The 2026 Stack for Corporate Learning
 Chand Prakash

Forget about yawning-inducing slideshows and endless text walls. In today’s digital world, learners crave dynamic, interactive experiences that spark curiosity and ignite their passion for knowledge. Using Open edX, a powerful open-source platform, you can transform eLearning into an engaging experience. Whether you are an experienced educator or a newbie to the world of e-learning, this blog will provide you with everything you need to create eLearning courses that keep your students engaged.
Before we embark on creating compelling eLearning content, let’s familiarize ourselves with the basics of Open edX.
Open edX is an open-source platform designed to create and deliver eLearning or online courses. Its robust features and flexibility make it the best for educators and organizations worldwide. Open edx enables organizations to build their online learning platforms, including Massive Open Online Courses (MOOCs), corporate training programs, and personalized learning experiences.
Many universities, companies, and governments worldwide use Open edX to power their online learning initiatives. Examples include Harvard, MIT, IBM, Microsoft, and various government agencies.
Let’s move to the steps to create online courses in the Open edX platform.
Open edX provides educators, trainers, and subject matter experts with tools and flexibility to create engaging and effective learning experiences. Here’s a step-by-step guide to help you create your online course in Open edX:
Creating a successful course requires careful planning and design. Let’s dive deeper into each key step for planning and designing the eLearning course:
In this step, we set up our Open edX environment, including hosting, logging in, and accessing the Open edX studio.
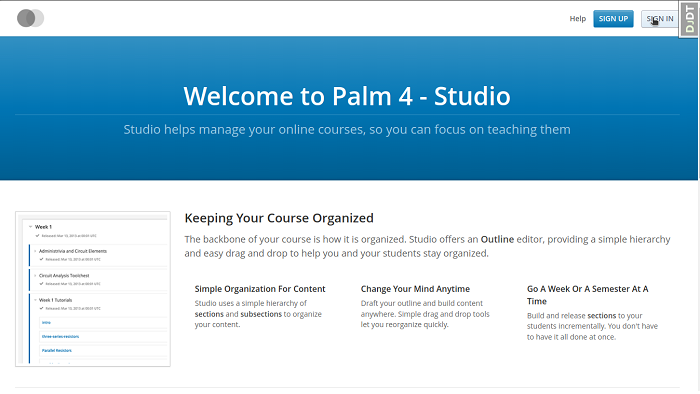
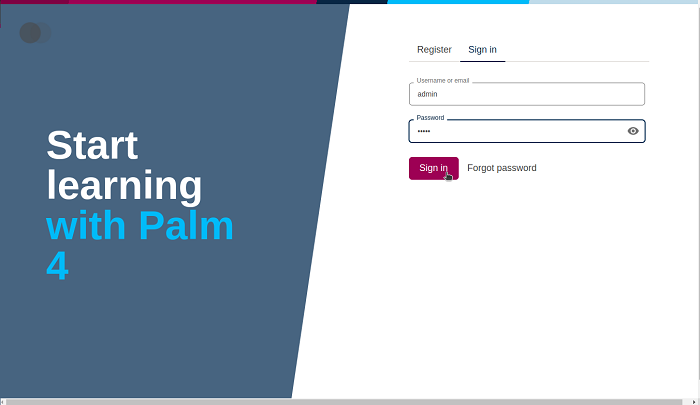
Here’s a comprehensive guide to building a course in Open edX Studio:
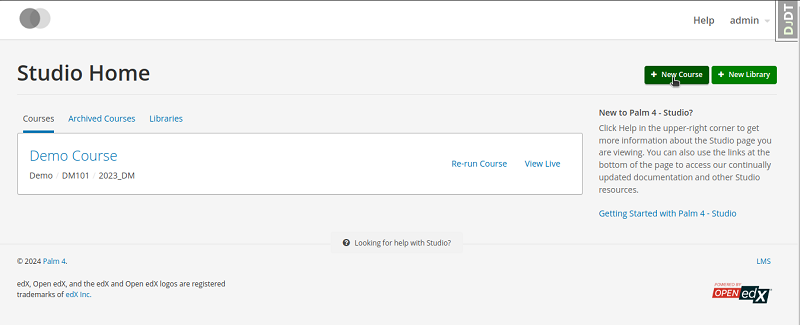
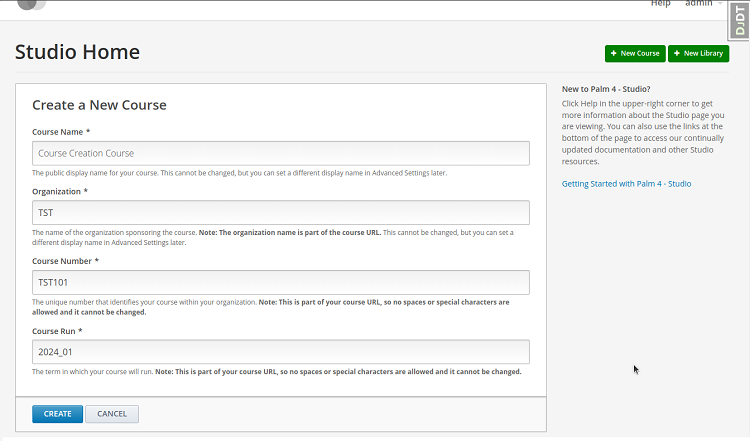
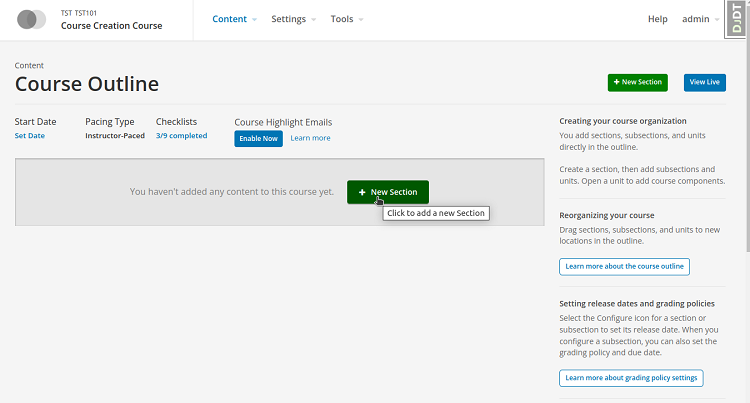
When you click the New Course button, you will see the following window.
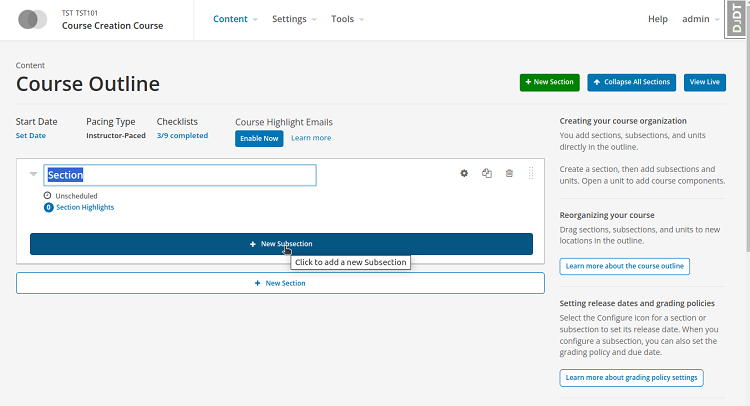
Click the “New Section” button
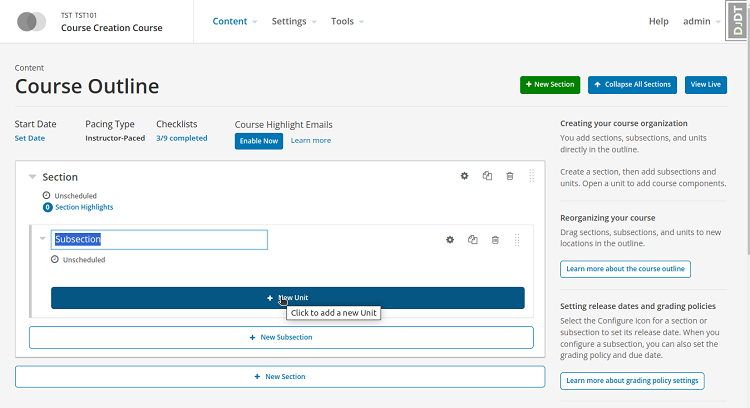
When you click New Section, it allows you to create a New Sub Section.
Under the New Subsection, you can create different units by clicking the “New Unit” button.
When you click on a unit, you will see many types of components, such as text, problems, etc. Select any component you want to add to your course.
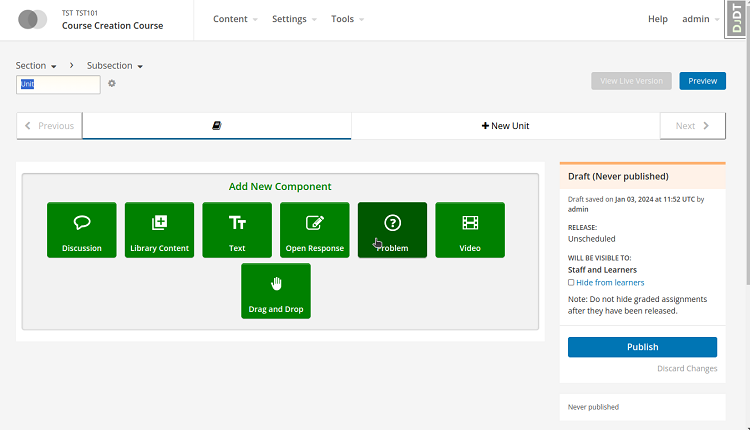
We need to add a Problem Component, click on the “Problem” button, and add the problem type you want to add to your course.
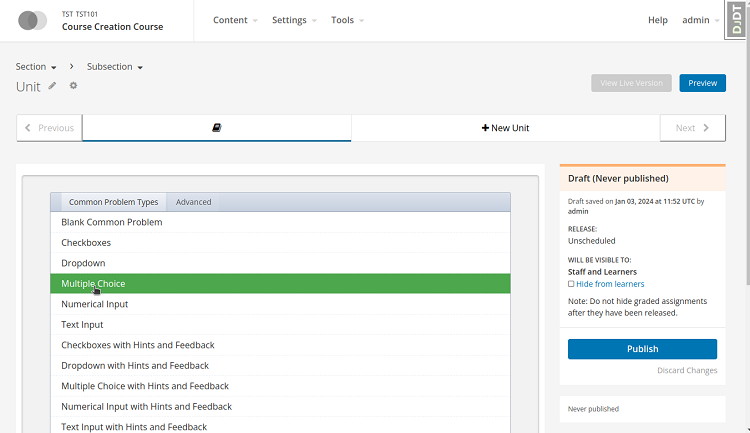
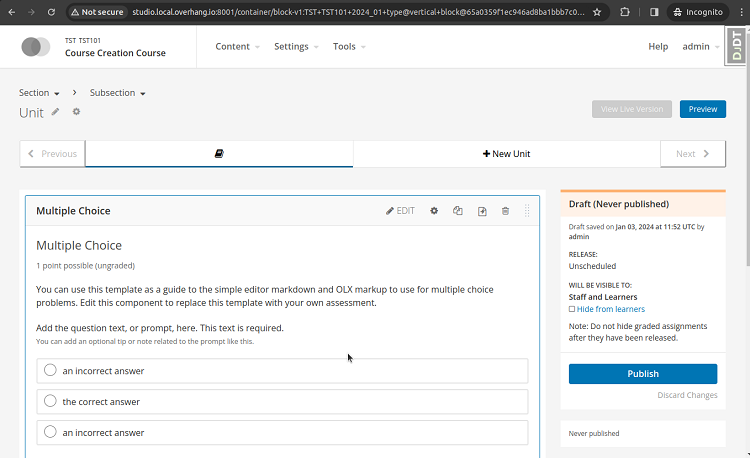
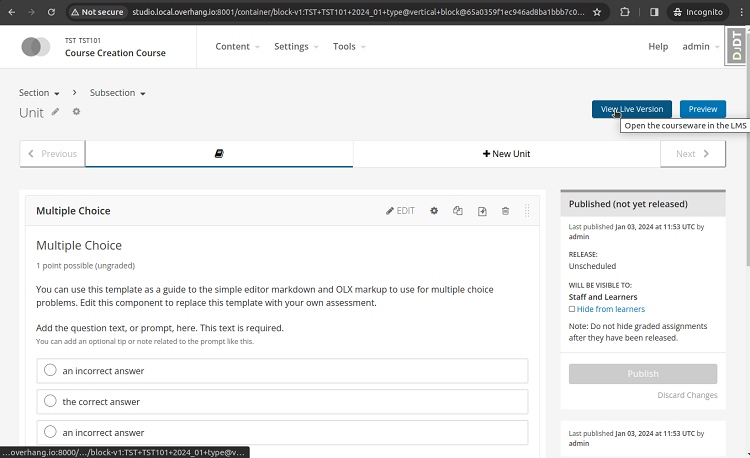
Here we select the multiple-choice type of problem, and it shows:

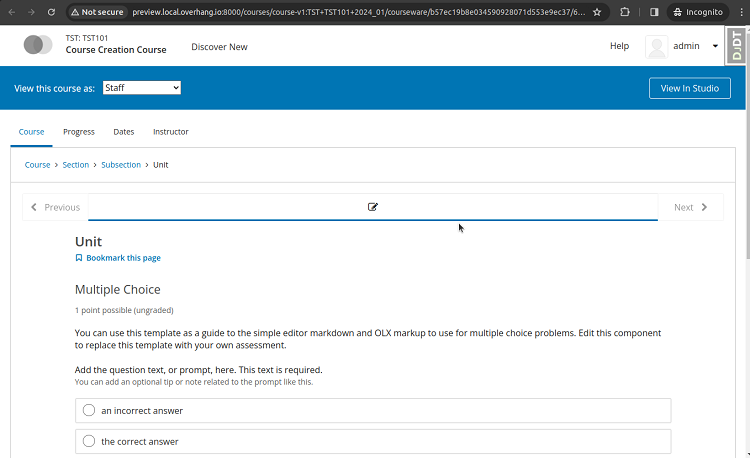
When you click the Preview button, the data will be displayed in the way shown in the image.
Follow the given steps and adapt them to your specific course and target audience, you can effectively publish and promote your Open edX course and reach a wider range of learners.
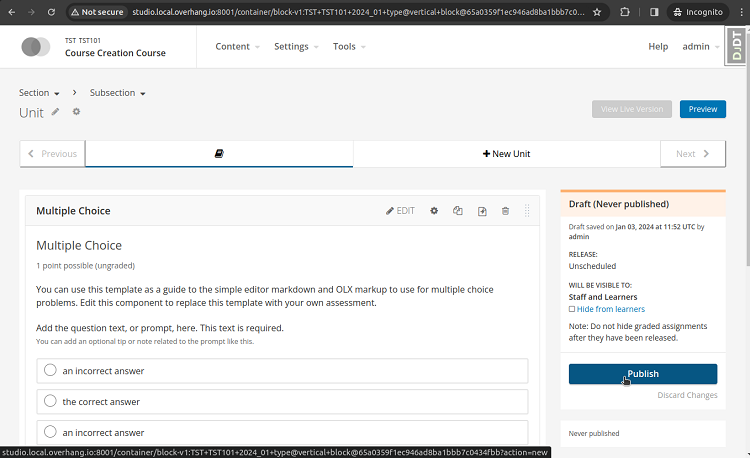
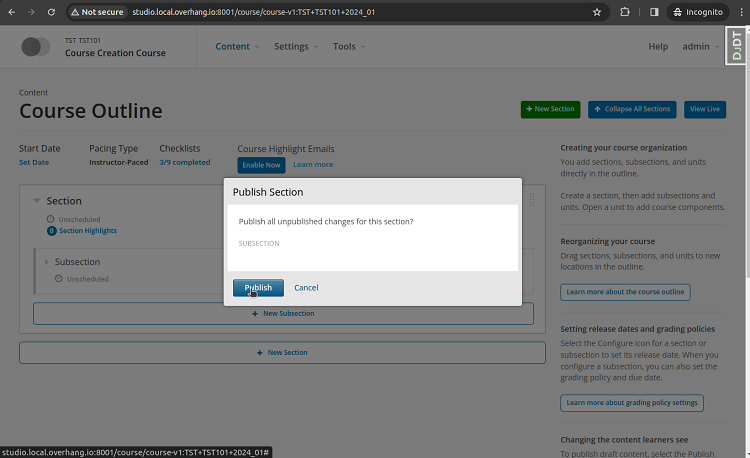
Note: To publish a whole section/ subsection go to the home page of the studio you can see the upload icon in each unpublished section/subsection.
![]()
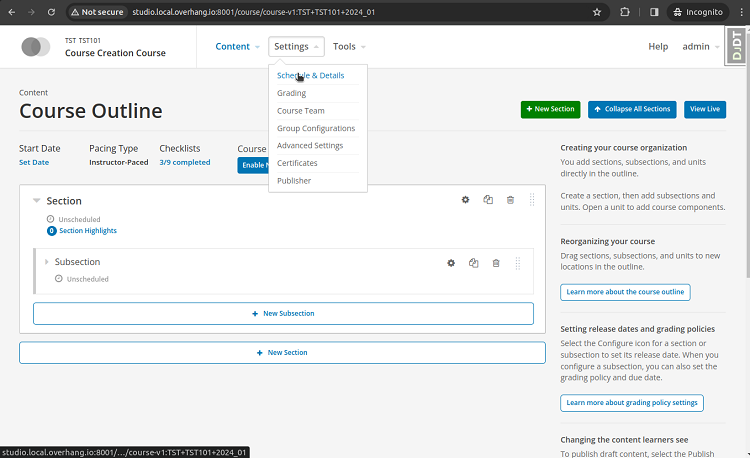
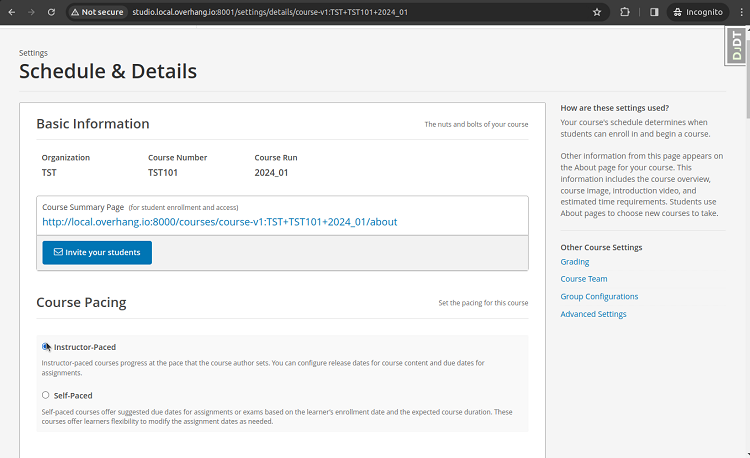
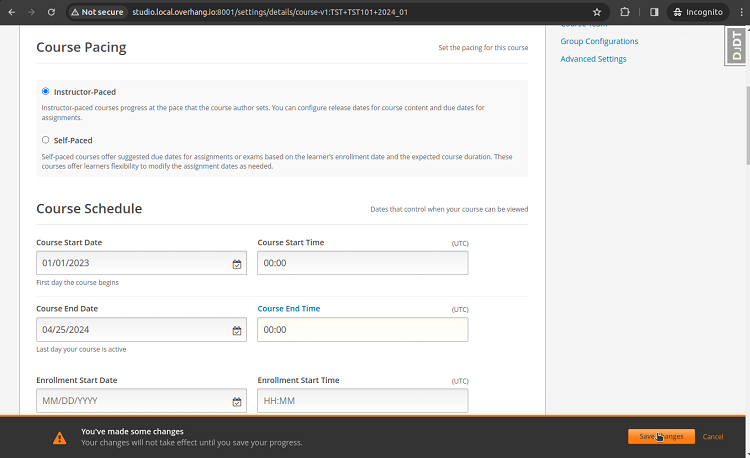
The learning format can be chosen from two options: “Self-paced” (open for enrollment at any time) or “Instructor-paced” (specific start and end dates). In the case of instructor-paced courses, set start and end dates along with any due dates for units or assessments. Click on the “Save” button.
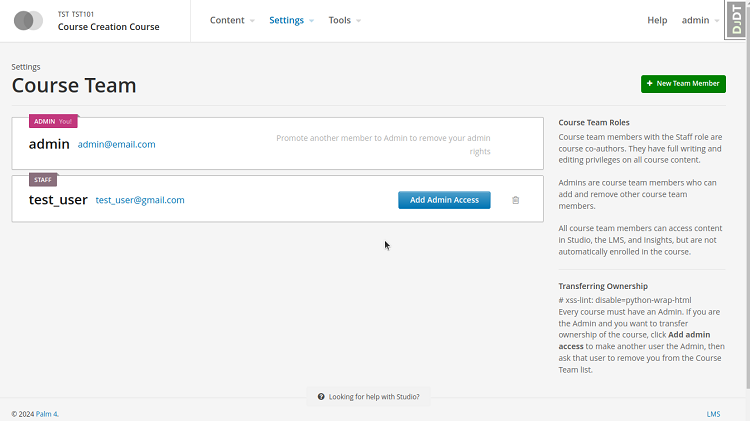
If you’re an admin and working with other instructors or teaching assistants, you can add them to your course team based on their roles. To add team members admin should follow the given steps.
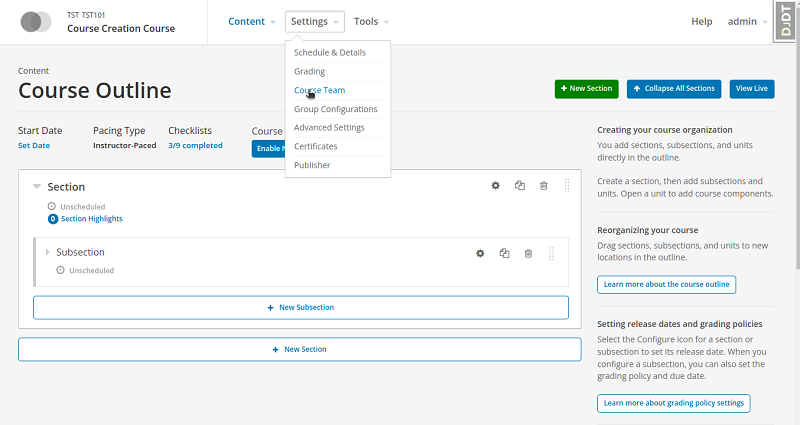
Select “Course Team” under the Settings tab.
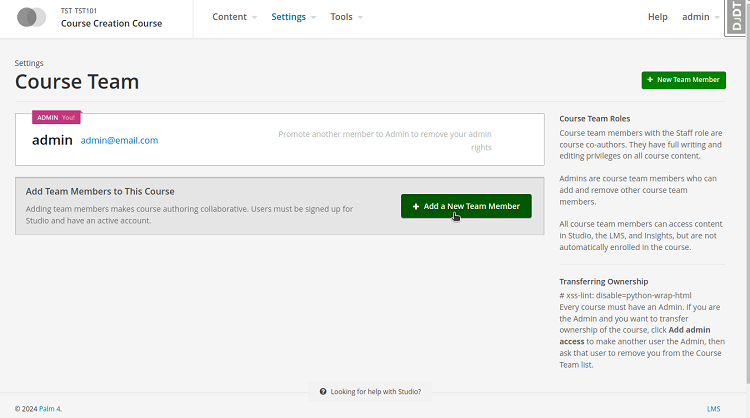
Click the “Add Team Member” button to add team members.
Add the user’s email address as shown in the below image. And then click the “Add User” button.
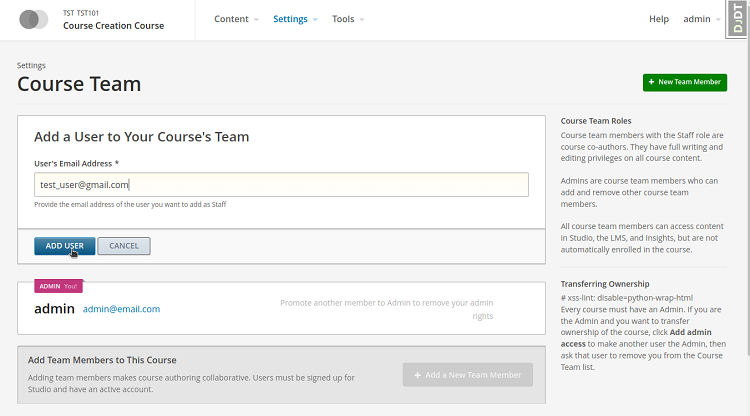
By clicking the Add User button, you can show that user as a team member.
By following these steps, you can create high-quality eLearning courses with Open edX that will help students learn and grow. Remember, the most important thing is to be passionate about your topic and to create a learning experience that is engaging, informative, and valuable for your students.
Create engaging eLearning courses with Open edX is a journey that combines thoughtful planning, multimedia integration, and a commitment to continuous improvement. By following these steps, you can unlock the potential to deliver impactful and memorable online learning experiences.
If you want to create your online course in Open edX, reach out to CodeTrade. CodeTrade is an Open edX Agency in India. Open edX made easy with CodeTrade: Your one-stop solution for MOOC development, cloud integration, analytics, content management, and more. Build, manage, and personalize your Open edX platform with expert support from CodeTrade. Take your online learning to the next level with CodeTrade. Contact us today!
 Chand Prakash
 Chand Prakash
 Chand Prakash
 Chand Prakash
 Chand Prakash