






Open edX Development
Education & eLearning
 Chand Prakash
09 September 2026
How Open edX xAPI Integration Solves Corporate Compliance Audit Failures?
 Chand Prakash

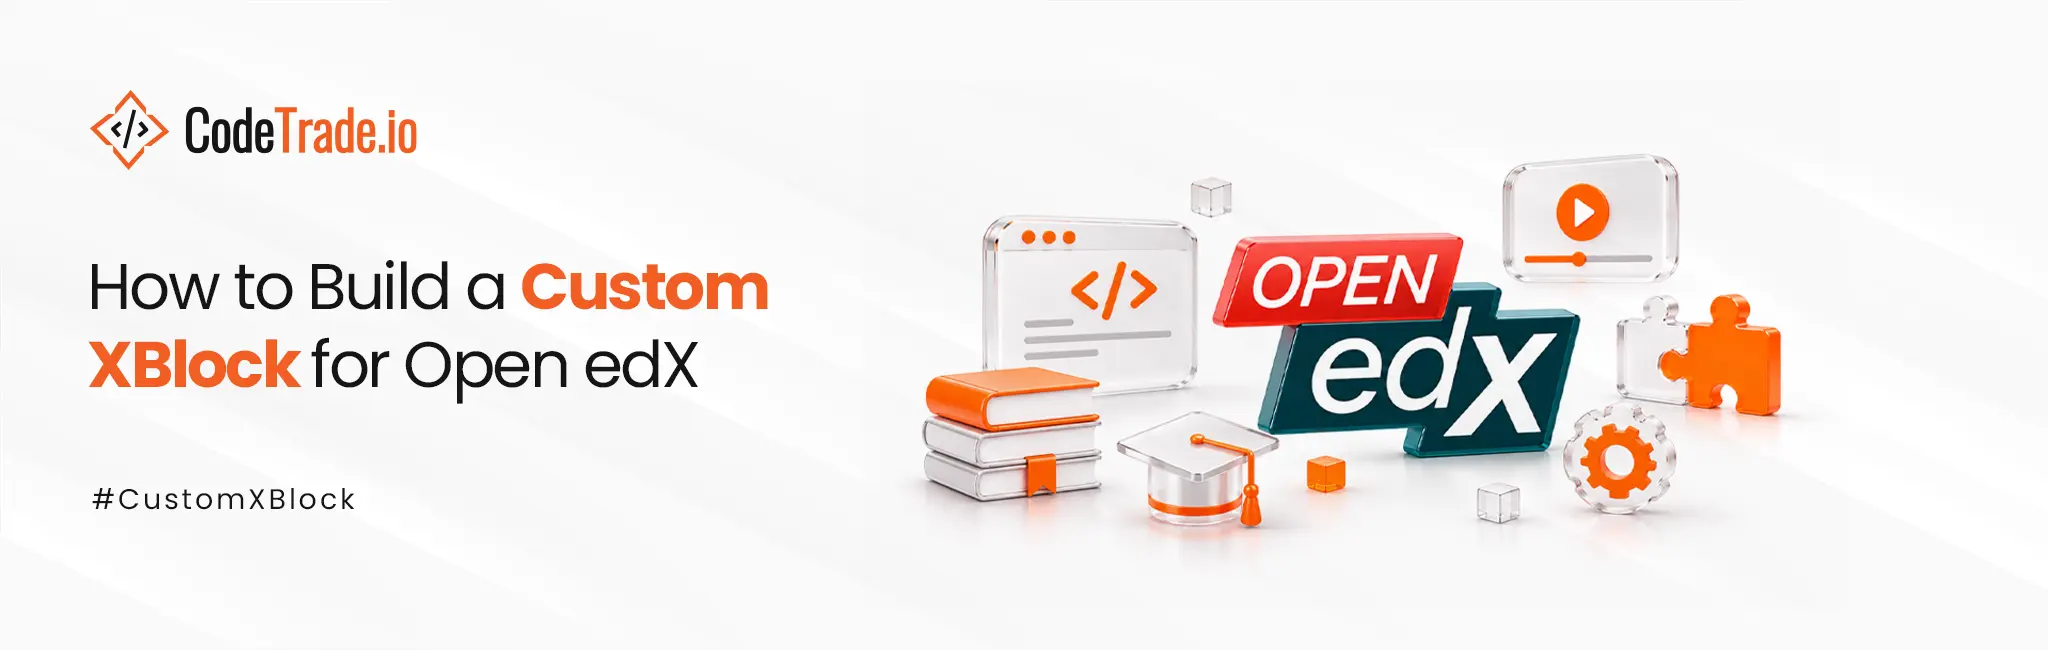
An Open edX XBlock is the building block behind every unit in an Open edX course, from video players to problem types. When the built-in components cannot deliver a specific activity, such as a branching simulation or a custom assessment, a custom XBlock fills the gap without changing the core platform.
Scale is what makes this useful. According to Open edX, the platform has reached more than 100 million learners across over 70,000 courses. Every one of those courses is assembled from XBlocks, so a well-built custom block can be reused across many courses and sites.
This XBlock tutorial explains how XBlocks work, then walks through building, installing, testing, and maintaining one. It closes with practical notes on compatibility and cost.
XBlock is the component framework that both the LMS and Studio use to render course content. Each XBlock is a Python class packaged as a library and registered with the platform through an entry point. As a result, new Open edX learning components can be added through Open edX plugin development rather than by forking the platform code.
Every XBlock has four main parts:
Field scope is the concept most worth understanding early. It decides who a value belongs to:
| Scope | Stored for | Typical use |
|---|---|---|
| Scope.content | The block, shared by all learners | Question text, instructions |
| Scope.settings | The block, editable by authors | Display name, attempt limits |
| Scope.user_state | Each learner, per block | A learner's answer or score |
| Scope.user_state_summary | All learners, per block | Aggregated poll results |
The Open edX community already maintains many XBlocks, including drag-and-drop, LTI, and video options. Therefore, it makes sense to check existing packages before writing new code. Custom XBlock development is worth it in cases like these:
For broader Open edX course customization, such as theming or new learner dashboards, other extension points like plugin slots and micro frontends often fit better. Teams weighing these options frequently work with specialist Open edX development services to choose the right approach.
This custom XBlock tutorial builds a simple poll that asks learners a yes or no question and shows live results. The same pattern applies to more complex components.
XBlock Python development needs a recent Python 3 version that matches the target Open edX release, plus Git and a virtual environment. Install the XBlock SDK, which includes a lightweight workbench for local testing:
python -m venv venv && source venv/bin/activate
pip install xblock-sdk cookiecutterThe Open edX cookiecutter template creates the folder structure, packaging files, and test setup:
cookiecutter https://github.com/openedx/edx-cookiecutters --directory cookiecutter-xblockThe template produces a Python package with a static folder for HTML, CSS, and JavaScript, along with a setup.py or pyproject.toml file.
The XBlock class declares its data and renders the learner interface:
from importlib.resources import files
from web_fragments.fragment import Fragment
from xblock.core import XBlock
from xblock.fields import Boolean, Dict, Scope, String

class PollXBlock(XBlock):
    question = String(default="Was this unit useful?", scope=Scope.settings)
    tally = Dict(default={"yes": 0, "no": 0}, scope=Scope.user_state_summary)
    voted = Boolean(default=False, scope=Scope.user_state)

    def resource(self, path):
        return files(__package__).joinpath(path).read_text(encoding="utf-8")

    def student_view(self, context=None):
        frag = Fragment(self.resource("static/html/poll.html").format(self=self))
        frag.add_css(self.resource("static/css/poll.css"))
        frag.add_javascript(self.resource("static/js/poll.js"))
        frag.initialize_js("PollXBlock")
return fragHandlers receive data from the browser and update fields:
@XBlock.json_handler
    def vote(self, data, suffix=""):
        choice = data.get("choice")
        if not self.voted and choice in self.tally:
            self.tally[choice] += 1
            self.voted = True
        return {"tally": self.tally}
The JavaScript calls this handler through the runtime:
function PollXBlock(runtime, element) {
  const url = runtime.handlerUrl(element, "vote");
  $(".vote-btn", element).on("click", function () {
    $.post(url, JSON.stringify({ choice: $(this).data("choice") }))
      .done((res) => $(".results", element).text(`Yes: ${res.tally.yes} | No: ${res.tally.no}`));
  });
}The platform finds XBlocks through the xblock.v1 entry point in the package configuration:
entry_points={"xblock.v1": ["poll = poll:PollXBlock"]}Most current deployments run on Tutor. Add the package to the build, rebuild the image, and restart the platform:
tutor config save --append OPENEDX_EXTRA_PIP_REQUIREMENTS=git+https://github.com/your-org/xblock-poll.git
tutor images build openedx
tutor local launch
Next, open the course in Studio, go to Settings > Advanced Settings, and add “poll” to the Advanced Module List. The poll then appears under the Advanced component menu, which means custom XBlocks can be added to existing courses without rebuilding them.
Testing happens in layers, moving from fast local checks to a full platform environment:
It also helps to test accessibility and mobile layouts early, because learners on the Open edX mobile apps may load the same unit. When in-house Python and Django skills are limited, teams often hire Open edX developers who already know the platform’s runtime and testing tools.
Open edX ships two named releases each year. According to the Open edX release notes, Verawood is the 22nd community release and launched on 30 July 2026, with Willow scheduled for December 2026. Each release can update Python, Django, and frontend dependencies.
A few practices keep Open edX XBlock development stable over time:
Cost depends on interaction complexity, grading needs, external integrations, and how many Open edX versions the block must support.
A simple display component takes far less effort than an interactive learning component for Open edX that grades learners and syncs with outside systems.
For a fuller picture of platform budgeting, see this guide to Open edX implementation cost.
XBlocks are often one part of larger Open edX LMS development work, such as integrations, reporting, or a custom LMS development project.
An Open edX XBlock lets a course team add new activities without touching the core platform. Clear field scopes and small handlers keep the code easy to follow, and Tutor makes installation repeatable.
After that, the main job is testing against each named release. Most teams get the best results by shipping one focused component first and adding features once learners have used it.
 Chand Prakash
 Chand Prakash
 Chand Prakash
 Chand Prakash
 Chand Prakash